My company does not like over-fancy nails,(the only thing I am not happy about my company:P) but I really wanted to try out the pastel green color and the flower deco for this spring.
So I figured out by putting a thin layer of pastel green, with a pink unicorn aurora powder, and a matte top coat finish.
Since my skin color is a bit yellow, the bluish green gel polish did not blend well- wrapping a warm colored layer over the green worked well to fit in right. And to avoid the over fanciness of the shiny unicorn layer, I gave it a matte top coat finish. This also came out well on my matte touch of my skin.
I am quite happy how it turned out since I can enjoy the green color I desired, and the reflecting pink strips in the light 🙂
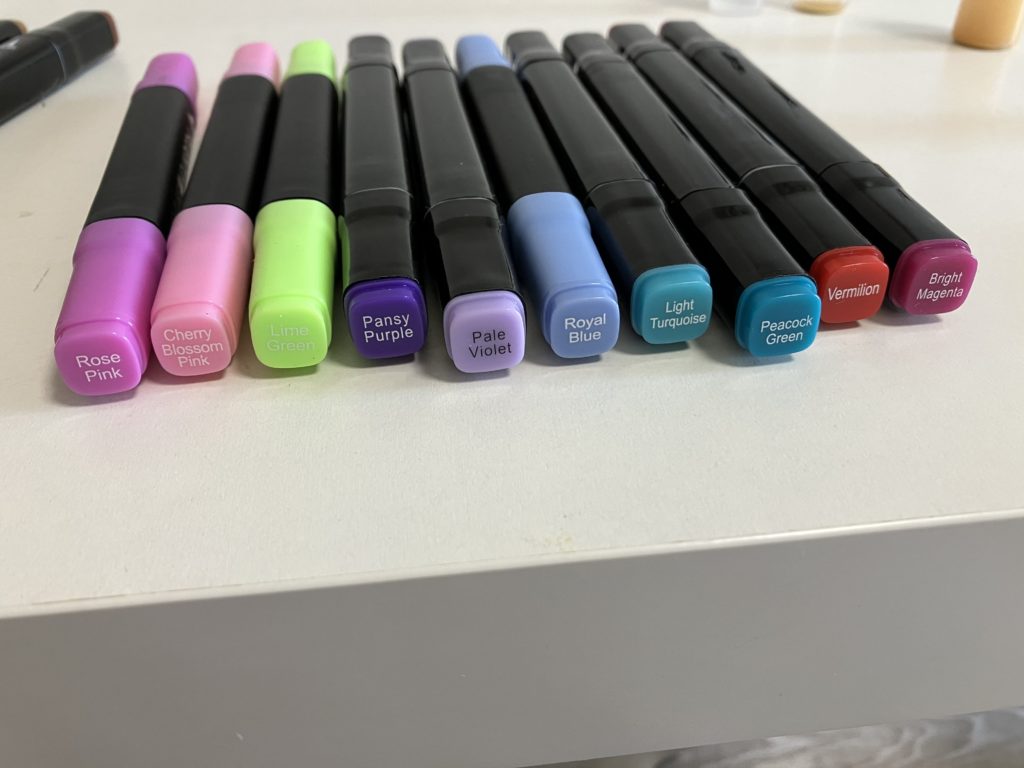
The materials I used are:
*Gelme1 olive (gel polish)
*unicorn nail powder (from dollar store)
*Flower printed water stickers( also from the dollar store)
It was about a month after I started learning Unity. I was having a hard time developing a 3d game using my MacBookPro(2016 early 8GB) – it was moving so slow, and the Unity app went down frequently while debugging. I was learning by watching tutorials on youtube most of the time, where my online teachers showed me compiling in seconds, while mine took for minutes only to attach a single script to a plain cube. (Later I found out that Unity Game developers are recommended to use machines that has at least 16GB of memory. )
So my routine was: to write scripts and compile in bulks, (spend money on online shops while waiting,) and get rid of all the errors in one go. I thought I would get used to it, but as I could not keep up my producing speed against my ideas which kept growing like crazy, I finally decided to purchase a new machine. The salesperson at the store happened to be familiar with Unity and gave me a lot of handy advice, and I chose my new buddy – MacBookPro(2021 M1Pro 16GB).
Using Mac Migration Assistant
As soon as I got home, I unpacked, switched on my new machine, went along with what he needed me to set, and used the “Mac Migration Assistant”, which I did not know about until an hour ago. By just following what the machine saids, all the datas synchronizes from my old pc to my new one. (Wow Technique. saids the technology apprentice beginner) At first it said that it would take 4hours to finish the process, but after I came back finishing quick dinner, it said it needed only 30 minutes left. The migration process finished in a success without any fails in about an hour and a half.
Finding out that something went wrong on Unity
As soon as I opened Unity on my new pc, it took no seconds to recognize the speed up of the starting process. (The graphics were great too. ) To continue with my development, I opened my project to find out that….
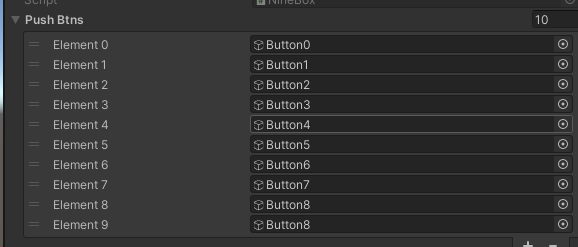
the arrays in “serializeField” has gone.
I mean, they were actually not gone, but went invisible. All the other objects using arrays showed the same. Though it was only about a month developing, I was using quite a lot of arrays in the scripts so It made me shake. I tried restarting the inspector window, Unity app, the computer, but nothing changed.
Searching for a way to show the arrays
“Unity inspector gone” “Unity array disappeared” “Unity inspector invisible(yes, this one had a lot of other meanings so it was not helpful and reminded me I was not good at vocabularies)” I kept searching for hours but could not find any other people with the same problem and solution. I contacted Unity support, but the auto respond said that it could take some weeks to respond.
So my I gave my last hope on twitter. (Thanks to all who gave me favs and retweets) After few hours, one of the users recommended me to try the Apple silicon edition of Unity.
I started downloading right away since I could take any port in a storm that time.
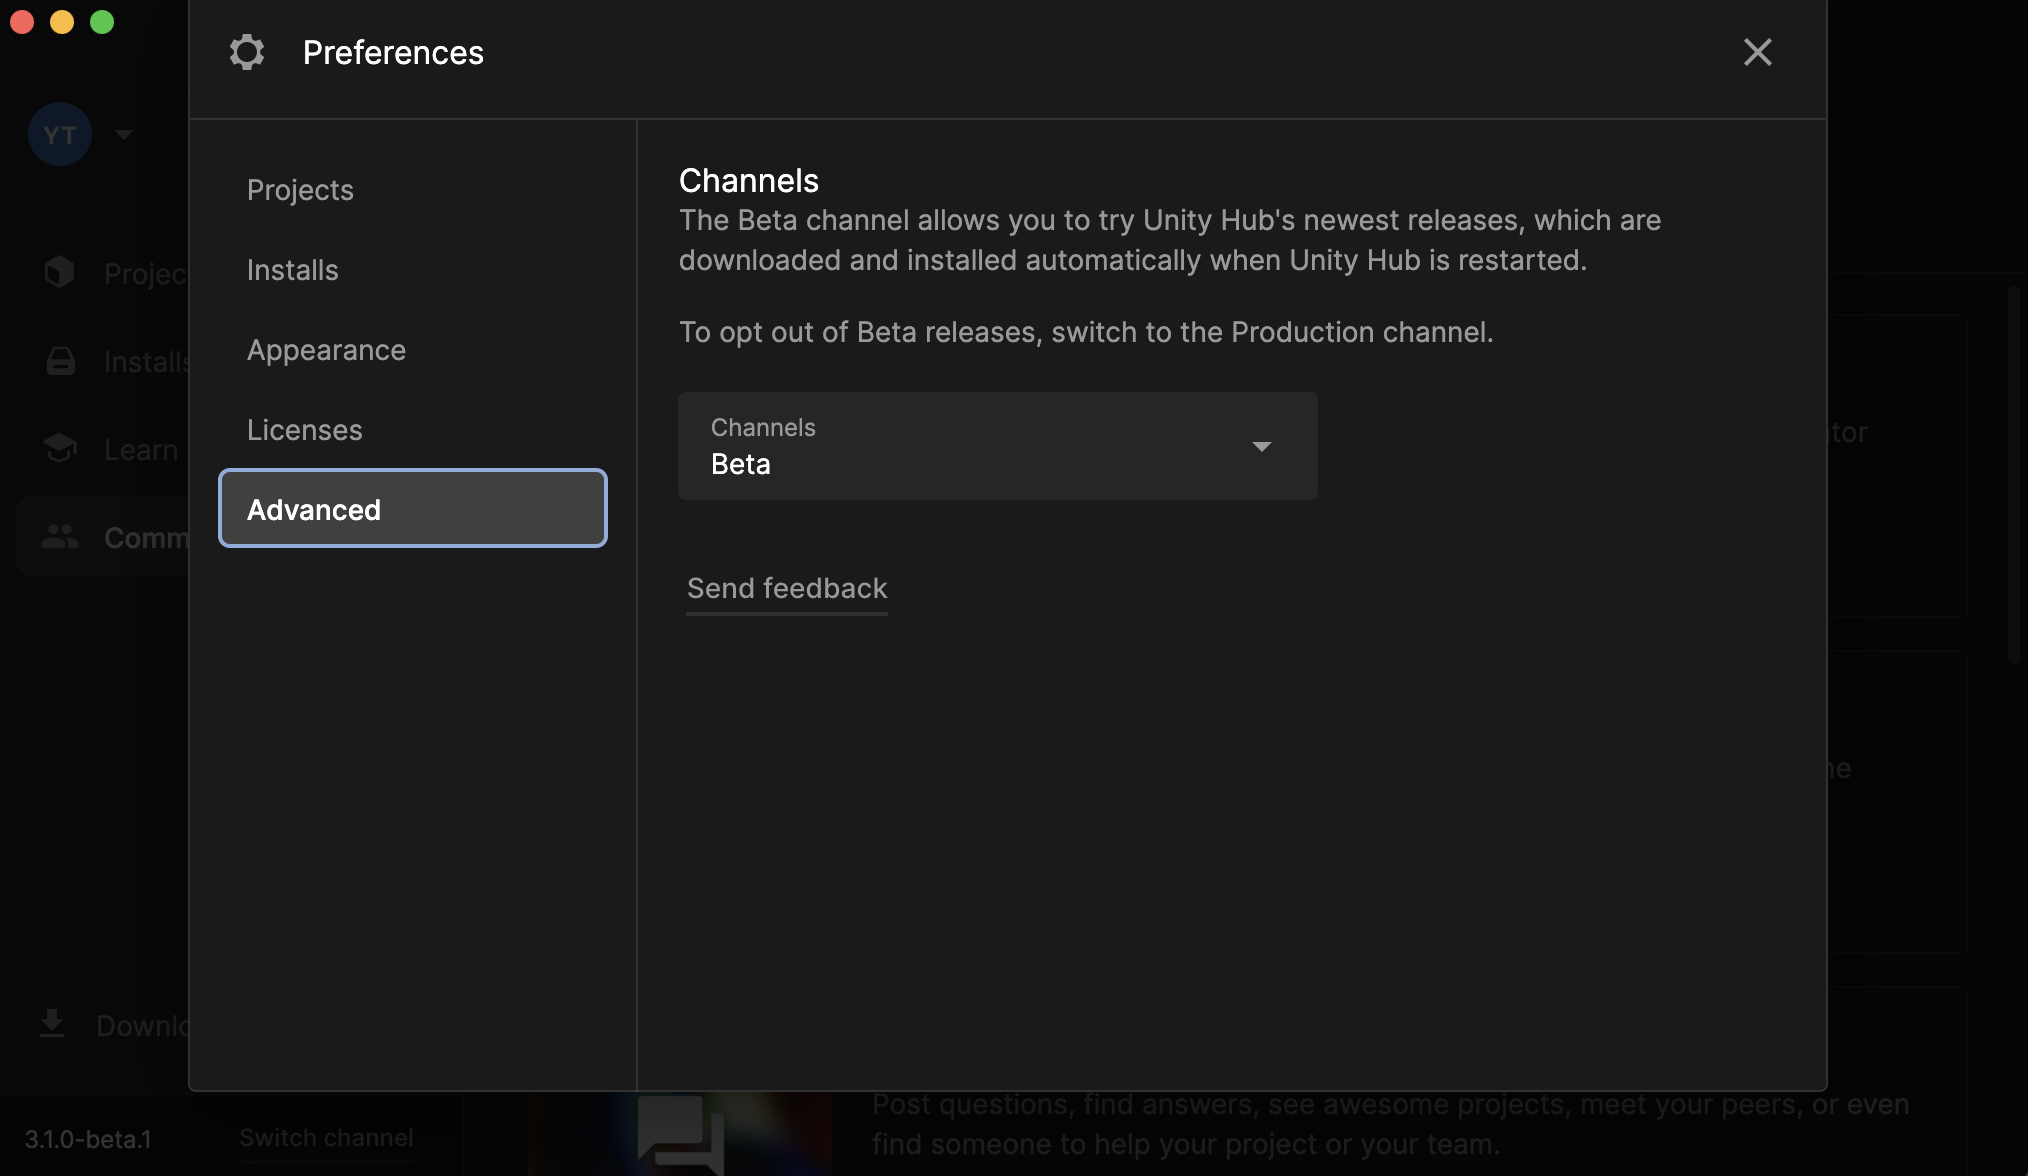
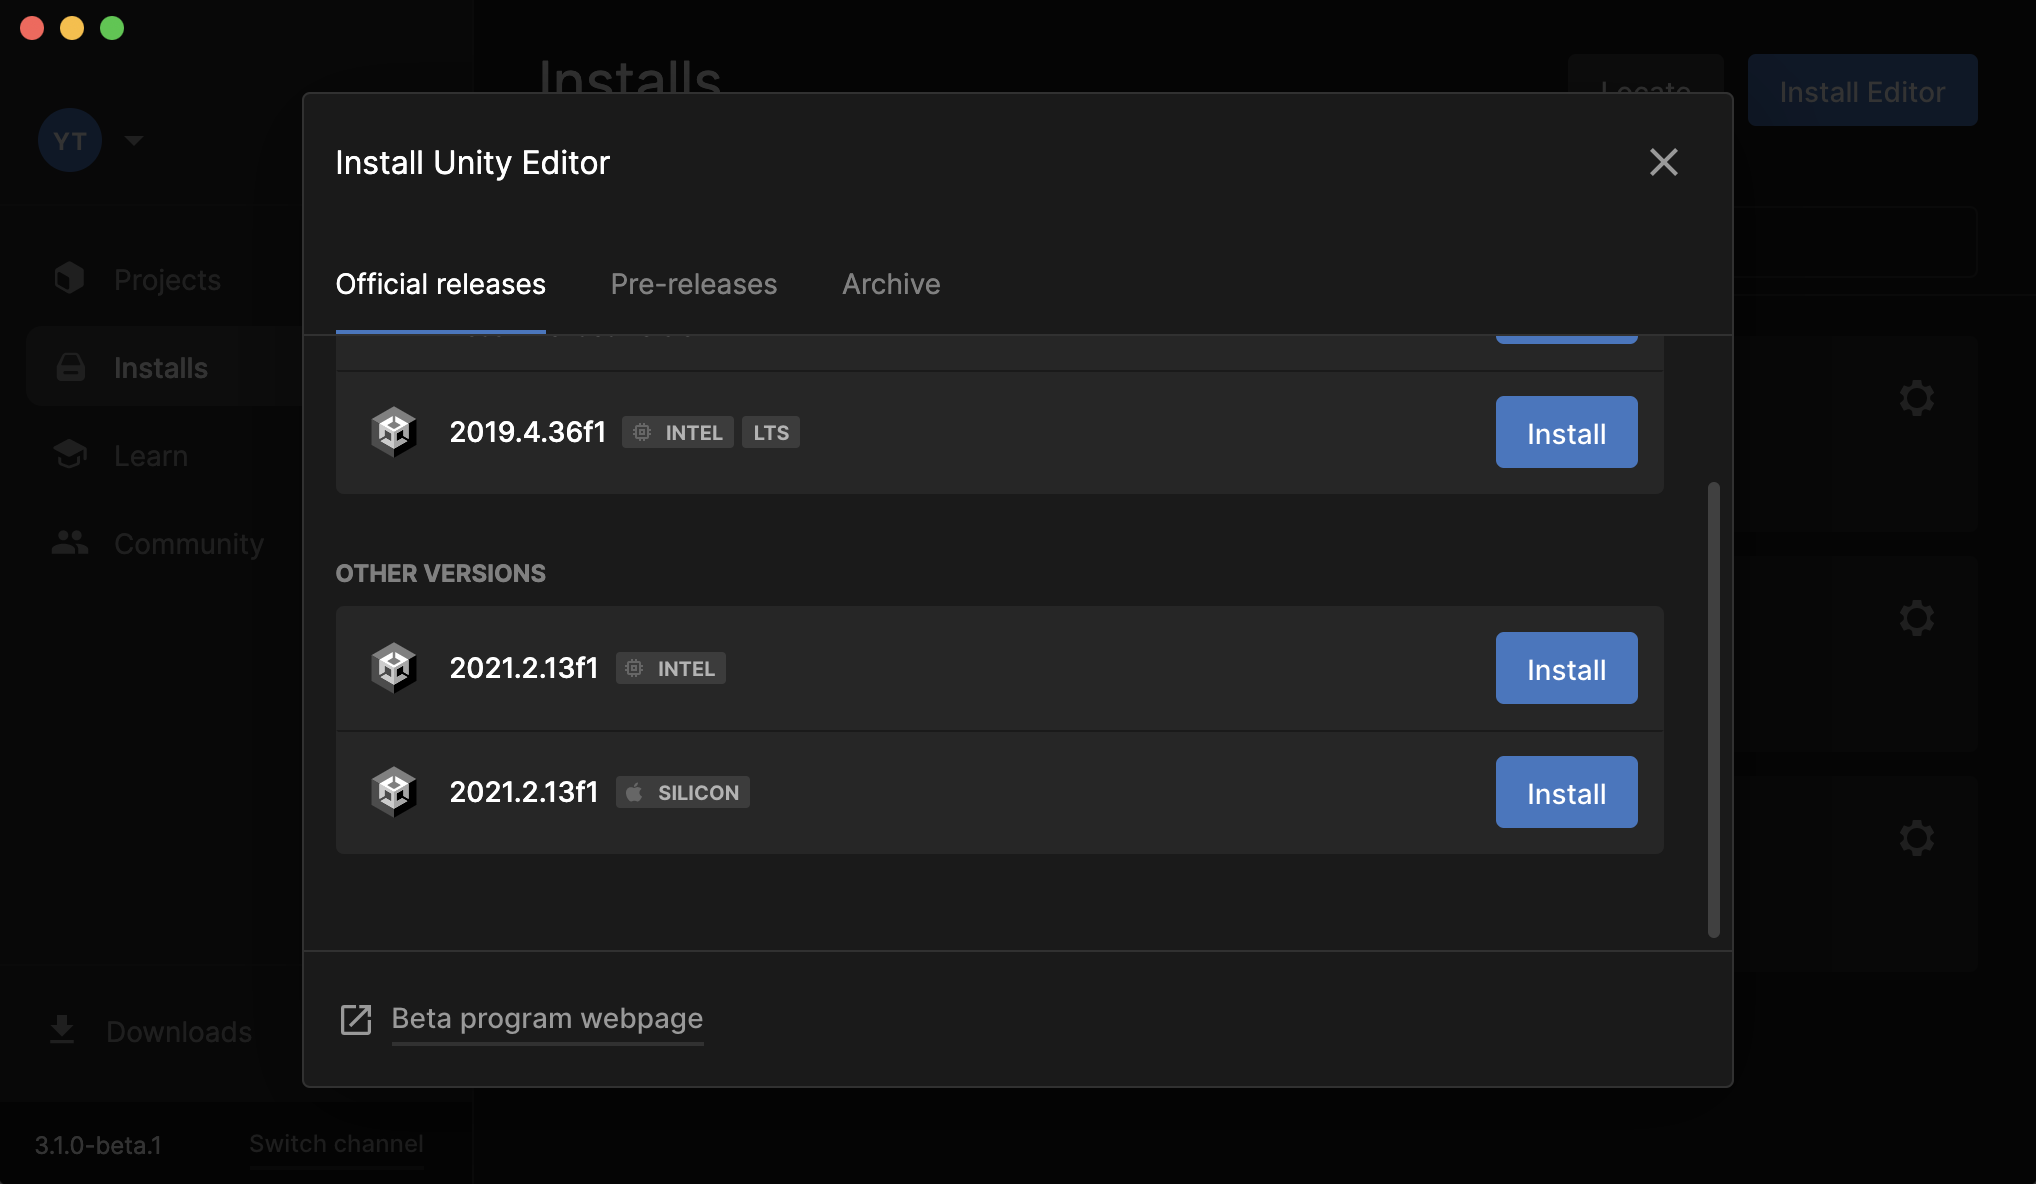
Preferences > Advanced > Channels change from Production to Beta. Installs >[Install Editor]on top right > [Intall] 2021.2.13f1 SILICON
The window pops out to show some options of which modules to install.
After I started installing and waited for about 15minutes, the screen showed one disturbing message:
[Install failed: Validation Failed] I searched to find out that it was an authorization error. It meant that the app did not have the authority to access to the directory.(Unity/Hub/Editor)
My solution was to restart Unity in administrator from terminal. sudo “/Applications/Unity Hub.app/Contents/MacOS/Unity Hub”
On Unity forum, I found out that one of the other users figured this problem out by: Installing as user → show an error → go to the install directory via finder → create a new folder → reinstall But I tried the administrator this time.
The administrator strategy went out well, and I finally finished installing the silicone edition without any errors. Also checked that “2021.2.12f1” was there on both the “Installs” tab and under the “Unity/Hub/Editor” Folder.
Setting some authorization
At last. I restarted Unity to check if my arrays vanishing sped has gone. And found out that the “2021.2.13f1 SILICON” where missing from the “Installs tab”! WTF…. (At this time it was about 2AM and my brain was already 70 % in bed) …..But it did not take so long until I realized that the users authority did not have permission to access to “2021.2.13f1 SILICON” folder. I opened finder, set the permission level, and restarted Unity Hub (for the 10th time that day), and reopened my project.
AWWWW WELCOME BACK ;;;;;;;;;;;;-PPPPPPP!!!!!!!!
Later I found out that, using the Migration Assistant sometimes shows fails to specific applications (found some few incidents with Adobe products.) But, my incident was due to my laziness using Unity version that was not efficient for my machine. Guess I was just too excited to use my new computer.
It taught me a nice lesson – to search before setting up any development platform. By the way, the silicone edition is running so fast that I sometime doubt if the compile was done. I hope this article helps someone in the same incident, or who has not yet determined to use the silicon edition – Strongly recommended.